Friday, December 22, 2006

Nina+Mark's Gifts [and Sharons too!]


to my right: Nina's Glove...pattern from Stich'n'Bitch Nation! I didn't use the cabeling pattern due to shortage of time. Galway Wool from Loops and Links was used to make this glove.


Above: Mark's glove for Xmas, from Broccos', wonderful pattern! The easiest pattern for gloves I have come across, no I-cord and no I-glove...both which are very evil and hard to do if you are just starting out on dpns and venturing into gloves. Yarn presented is Benard's Cami yarn.

The one to the right: my very own glove pattern, made for one of my co-workers at Resurrection


Mittens!!!!

Fun stuff to do!!

Many people shy away from mittens/gloves because of the big scarey thumb! I say the hell with that!! it's so soo col see a thumb just pop out of nowhere!! But don't get me wrong, they can be tricky animals at times though becuase every hand is different. I recemmend tracing the owner of the mitten's hand on a piece of paper. This way you always have their measurments without a bunch of random numbers floating around. I made a few mittens. I have been making them for xmas gifts.

Knitting on straight needles may cause one to have a seam, but they aren't as bad as one may think. A little tip I learned, knit 3, add marker, k1 m1, k1, add marker and knit the rest of the row. on the other side, knit all the stiches except for the last five, add marker, k1, m1, k1 and knit the last three. The seam ends up on the side by the thumb...and it's easier to sew up because all of your sewing is in one area. Most of my mittens take only about an hour to make. And they look cool on both straight and double pointed needles.

Double pointed needles are fun to use too. I would recemmend using bamboo or wooden dpns, becuase they hold the yarn better!! No seams at all. If you have the knowledage/skill to use them I would! I hate sewing seams up. If you don't sew them up right you get a big buldge and it sucks majorally! I always get my friend Jean-Maire to sew them up becuase she is the whiz at sewing seams.

My new pattern! Pattern number two!!

Emmy's Mittens:


100% wool Galamore Yarn 210 yards
1 skien, unless doubled

co 25 stiches
k in garter stich for three inches
next row: k 3 add marker k1, m1, k1, add marker
k in st st m1 after knitting first stich after marker, increase on right side only
contuine for two inches.
Place stiches on a holder, k for 2-3 inches, depending on the lengh of your pinky
k2, k2tog, k rest of row
p every other side
k next side
next row: k2tog
contuine in this pattern from * to * under mitten is as long as your hand.
cut at 12 inch tail
k stiches on to a 'dead' piece of yarn, pull stiches tight and tie off, sew up

Thumb:
k 3 rows in st st
k2tog k rest
p wrong side
repeat until length desired,
cut 6" of yarn k stiches in them and pull tight
sew up

for the other side: k 20, pm, k1, m1, k1, pm, k3 and contuine as written

Celebrate you are done!!!

Sunday, August 13, 2006

Purses as Gifts!


Purses as Gifts!

The girls! From left to right, Angie, Myself, Niki and Michelle. Angie and I visited Niki and Michelle. Up here I got to see the purse complety done (I was unable to sew up the seams so I gave it to her to do)

Purses as gifts is one of the greatest ideas around. Today pureses are so...well...they change quicker than the colors of a camalion. We all have our own perferences for purses, and we don't always have that option to purchase that perfect purse...so in my mind...make one. That way you can have excatly what you want for a purse.

A good friend of mine is in LOVE with Fall Out Boy, just adores the music, especially Pete Wenzel, the bassist. So, my best friend Jennifer and I decided to make a purse with Pete on it for her for her b-day. Using inspiration from Debbie Stollers' Pattern "Poster Boy" we were able to complete a very beautiful purse. In order to avoid sevearl problems that were comming up in our orgional purse we recemmend the following for any purse making experience that includes using pics on front!

The Pete Purse!

How to make a great purse! TIPS!

1/wrap your yarn every few stiches if you use intarisa! Otherwise it will be too tight!
2/use singlar needles instead of double pointed...at first that seems crazy but then u are only dealing with one side.
3/FELT this! Sew it all together and then put it in the washing machine. Becuase u are using felting, use a size biggar needle to get a bigger purse...:)
4/make the straps thicker than you would origionaly think. These straps were only 13 stiches long...make them like 20. That way they are extra strong.
5/use the photoshop recemendations, but if you can't get a hold of them, use graph paper to do the dirty work

I am looking for photos of William Beckett to put on my purse:) I am hoping to make it large enough so I can felt it and create a beautiful creation...again! In the meantime I am working on several other projects, including a cami for myself! I wish everybody the best of luck on their projects! Please let me know if you come up with anymore purse suggestions.

Emmy

Wednesday, August 09, 2006

Charity & Group Knitting [Both Very Fun Yet Can Make You Sleepy]

Charity & Group Knitting


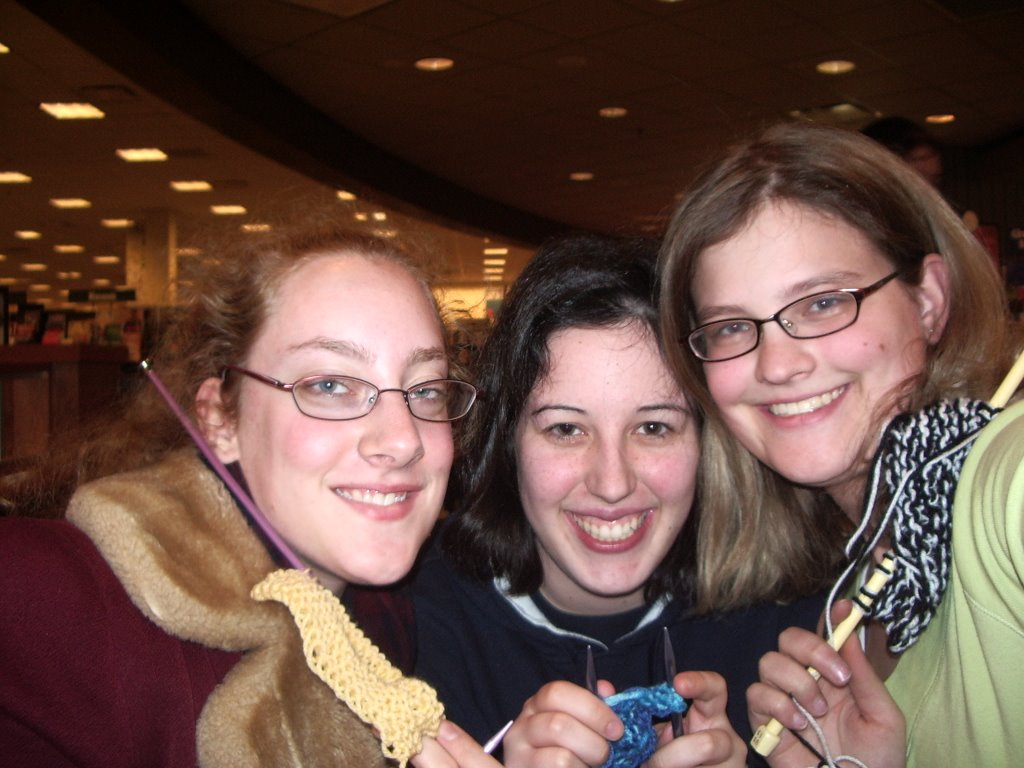
From Left to Right: Vanessa, Julia and I in December. We are missing four members Alyssa, Jean-Marie Tanya and Jennifer Together the seven of us make up the Stich'n'Bitch Green Bay Chapter


My prayer shawl! I was told that I
made it too small when I showed the group my final piece. I told them that my shawel was intended for a young person who has a form of cancer.


Groups are fun! We have a local chapter of our Stich'n'bitch. We hold it at Barnes and Noble every Tuesday. Here we not only learn about each other's lives but we also learn about new techniques and we are there to help each other out...even if one of us decides to go crochet on us! We welcome them with open arms!

I think the kindest thing to do is to do some charity. Everybody needs charity in their life...otherwise the world would indeed be very greedy. All across our Nation there are Paryer Shawel Miniseteries. These types of groups work for those who are sick. There are also Chemo Caps for those who have Cancer and etc. I think that these are great programs!

Well being the advicate knitter I am, I went to our chruch's prayer shawel ministery (I also work here as an organist) I was inspired to try a knack at knitting...I was pretty excited to do it! Well...I got there and there were two crocheters--they were not found that I, Emmy, queen of knitting (they knew I adore knitting) was crocheting! God forbid! They had the nerve to tell me that a knitter should not corchet and therefore my prayer shawel would never be helpful for anybody!

I laugh at these people!

Then there was this lady at the LYS (local yarn store) who's granddaughter was only 1 years old and had cancer! How horrible!!! Here was this girl who was only a year old living with cancer while two ladies over at my church told me that my prayer shawel isn't "holy"!

So, when you are at those knitting groups here are some tips to keep in mind:

1/If anybody be littles you for your expertise (or lack of b/c u are just a beginner) gently remind them that they were once new themselves.
2/If anybody says "knitters can't corchet and crocheters can't knit" ask them how do they know!?! (and if they ever met Debbie Stroller, who has done both?)
3/If you are ridiculed for having cheap aryclic yarn, tell them that it isn't the dollar amount it is the time and effort put into the piece.
4/If somebody who has more expertise points out a mistake tell them this: "It's not a mistkate it,s the character of the shawel! My Shawel/chemocap (etc) has attitude just like you!"
5/You can always change groups...there are a lot of groups out there!
6/Start your own! Get your friends into knitting! College Campus have knitting clubs everywhere! Look at the LYS, even if it s a Hobby Lobby
7/If anybody calls you "unholy" or "unworthy" for talking back/defending yourself at one of these Shawl Places, tell them that only God can make that call.
8/Even if it isnt your best work, the Church will not make fun of the shawl, they will appreciate your help. The sick person will appreciate the shawl (and if you are really self-consious you can either frog it or give 2 a blind person)
9/Only help when you are asked at these places...unless you see somebody heading down the path to hell! (this is true in your LYS, chances are if you look like a knitter they will ask you for help anyways. And then u feel good!:))

NOBODY deserves to live with the snobbery of the knitting world. I can't tell you how many times I have been to Hobby Lobby (not to pick on Hobby Lobby, it's a great place) and somebody will smerk and go "oh look college kid trying knitting" when I have been knitting for three years (and probably am just as good as them!) I have had a lady apprach me telling me I shouldn't be purchasing a bunch of needles and random balls of yarn...that's just wasting money...esp since I was a beginner and I was a college student. Truth was, I was actually teaching a knitting class that night (and I got reinversted too so I wasn't wasting my money HA!)

Truth is, it doesn't matter what level you are at...the most important part of knitting is the spirit of it! Keep it alive! Don't let others bring you down, those haters are everywhere, from the asiles of Hobby Lobby to the local Prayer Shawel Group.


Emmy

Saturday, July 29, 2006


This is part two of the double feature blog today, please refer to the previous blog before you read this one:

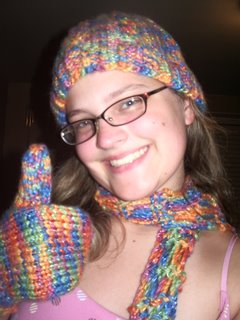
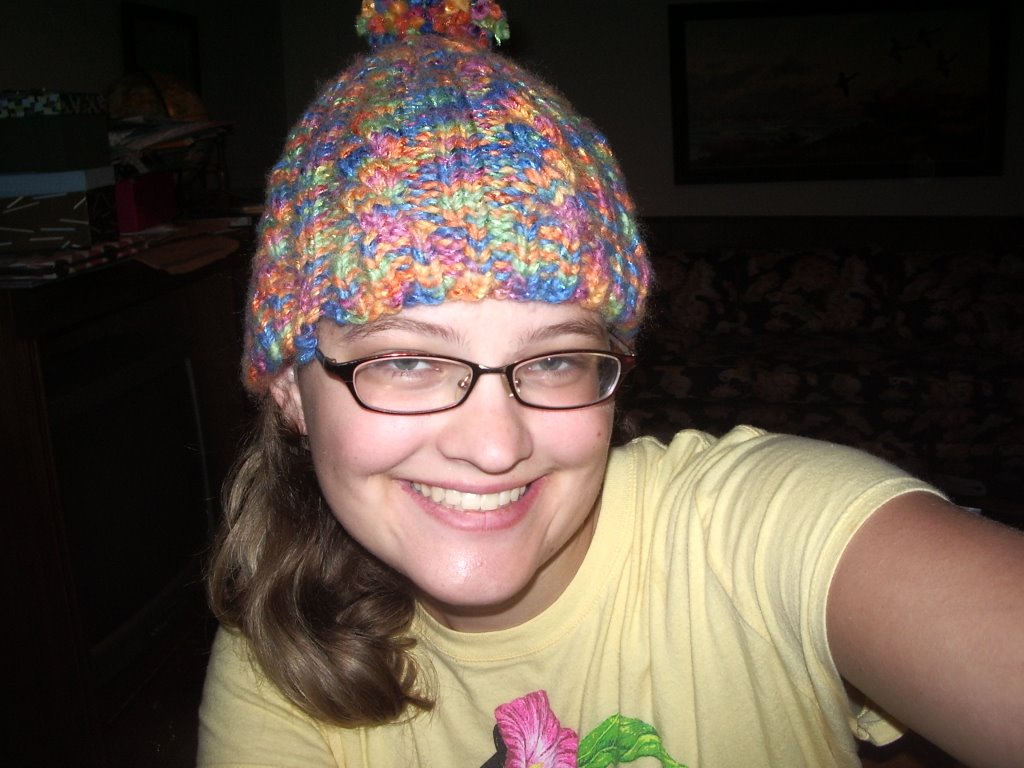
The pic to my right is one of my favorite pics with the hat!

The far pic to my right was the one I used for when I was auditiong for the fourth Home Alone (JK-but they should have stopped after the second one. The third was would have been considered cute IF the first two were not created. But I am serious here, there are four HomeAlone Movies out) I was having a hard time incoporating the entire winter set into one pic but this is my most creative way of including all three for now.

NOTE: At the time I took the photos in the pink I did not have the materials to add the pom-pom. That is why I retook photos in the yellow shirt. (the shit that says Panic! At the Disco...great band!)

See how the hat doesn't cover all of my ear? This is even after I did add rows before I competly shaped the top. But as I said before, add about two-three more rows of cabeling (so the hat is about 7 inches) before you shape the top. The hat will fit so much better.

Even though I had several issues with the Jellybean hat it was worth the time! I recemmend using the pattern becuase it was very creativialy made, the only down fall is and will always be the failure for the creater to make the hat long enough to accomdate everybody's needs.

As for the mitten set...do NOT use The Knit this Pattern and Insturctions Everything You Need to Knit book. Then again I have had several issues with this series of knitting materials.

The hat scarf and mitten set is a go!


~~~Emmy~~~

I am very sorry it took me a while toanother blog! It has been crazy at my house. My mom and dad drive me MAD! They think that knit way too much! Haha, truth is, I probably do.

I am having the hardest time post more pics than one so I will post more in a following blog. For now this is a pic of me with the hat.

I made the hat from Debbie Stroller's StichnBitch Nation (the pattern is called Jellybean Hat) The hat is very cute and very popular with whoever saw the hat. And while I am I true devoted fan of Debbie Stroller, I do have several problems with the pattern that I used. First of all the knitter did not make her hat long enough. The Jellybean hat does not cover your ears if you follow the pattern excatly! I had to extend the length of my hat after I decreaed several times (and since there is cabeling in it, it would have been maddening to frog part of it) Before you decrease I recemmened repeating the cable pattern until the hat is about seven inches long! It will save you some grief. Notice how the hat doesn't compelty cover my ears! If you want it to cover your ears make sure you have abot seven inches before you start to shape the top of the hat. And I also rememmend adding the cute pom-pom on the top; it really add spaz to the hat.

I used Knit This Patterns & Instructions pattern to make the mittens. The problem with this pattern is that the seam is on your palm, which isn't very comfortable. My first attempt with this pattern I somehow made the seam on my left side but I don't remember how I did it! Currently I am working on a pattern for mittens on straight needles (for those who want to make something new without learning how to work on double pointed needles) with the seam on the side of the mitten. In the meantime, I highly recemmed using a different pattern than the one I used for the mittens.

The scarf pattern I created myself. This scarf is HUGE but it is a very cozy scarf. It also doesn't take that long after you learn the pattern. It took me about four hours (with a lot of stopping)

Big Loop Scarf:
Total Length: 70 inches (without tassels)
about 100 inches (with tassels)

Yarn Used: Jo-Ann Exclusive Sensations Life 45% Wool 42% Nylon and 13% acrylic approx 44 yards

Size 15 or 17 size needles
1 Crochet hook size K or up

CO 10 stiches
*k2, yo 2 times* rep from * to end

Follow Knitting pattern:
Row 1: **k2, drop yo stiches** rep from ** to end
Row 2: *k2, yo 2 times* rept from * to end, strech out yarn


Repeat row 1 and 2 remembereing to strech out yarn after row 2 until piece is 60 inches CO.

Tassels:
Cut 40 strips of yarn that are approx 20 inches long. Fold two pieces over and attach with a crochet hook.

Enjoy:)

Friday, June 23, 2006

More Tips For Double Pointed Needles:

For those who are still confused here are some things I found out after posting the first blog. These are things I've never seen written down in a book, so be prepared for some awkard twists!

When you are casting on cast on one more stich than necessary, then when you knit for the first time, slip off that stich to your right needle (saying you are right handed) and then knit your first stich and then drag your first stich over and drop it inbetween the two needles, as if you were casting off

Whenever you are knitting the first stich make sure you end with a purl on each needle. If you purl your first stich on your new needle you will add a stich. If you get to the end of one of your needles and you have to purl next, simply slip another loop onto that needle and purl it. Then switch needles. YOU ONLY HAVE TO DO THIS FOR THE FIRST ROUND

When ribbing your own pattern, try to stick with k1, p1, trust me it is a lot easier than k2, p2. Especially if you have uneven stiches going on.

Attempt not to panic when working for the first time with the needles...pratice pratice PRATICE is the virtual key!

I'll be posting pics sooon about each of these techniques. Give me about a week!

~~Emmy~~